You set the oven to 350 degrees, follow the recipe to the minute, and the cookies still come out pale or the cake dries out around the edges. Before you blame the recipe, consider that your oven might not be running at the temperature the dial says.
The good news is that you can test this yourself in about half an hour and, in most cases, correct it in a few minutes. This guide walks you through how to test your oven, how to recalibrate it for your oven type, and what to do when recalibration isn’t enough.
Why Your Oven’s Dial Doesn’t Always Match Its Real Temperature
Every oven reports its temperature from a sensor or thermostat, and that reading can drift over time.
Why Even a Healthy Oven Doesn’t Hit the Dial Temperature Exactly
Ovens cycle their heat on and off to stay near the target, so the actual temperature swings a little above and below the number on the display. That swing is normal. What matters is whether the average temperature matches your setting. Both gas and electric models can drift, a pattern we cover in our gas versus electric oven repair comparison.
Why Baking Is Especially Sensitive to Temperature Errors
A roast chicken forgives a 20 degree error. Baking rarely does. Cakes, cookies, and breads depend on steady heat to set their structure and brown evenly, so a cool oven can leave centers gummy, while a hot one can brown the edges before the middle finishes.
Why This Comes Up Often With Fallbrook Homeowners
Homeowners across Fallbrook often ask us about this after a favorite recipe suddenly stops working. Older ovens are more likely to drift, and a quick thermometer test usually shows whether you have a simple offset or something bigger.
Signs Your Oven Temperature Needs Recalibrating
Temperature problems often look like cooking mistakes, so knowing the pattern helps you decide when a test is worth your time.
Baked Goods Consistently Under- or Overcooked at the Recipe Temperature
If your baked goods regularly come out pale and doughy at the recipe’s stated time, your oven may run cool. If the edges brown and dry out early, it may run hot. The key word is consistently, since a single bad batch usually points to something else.
Recipes That Suddenly “Stop Working” After Years of Success
A recipe you’ve made a dozen times that suddenly fails is one of the strongest signs of drift. Sensors and thermostats age, and a gradual shift often goes unnoticed until your results visibly change.
Why Hot Spots Are a Different Problem (and How to Rule Them Out First)
If food burns on one side while the other side stays pale, you’re dealing with uneven heat distribution, not an inaccurate overall temperature. That’s a different problem with different causes, and our guide on troubleshooting an oven that burns food on one side walks through it. Rule that out first, since recalibrating won’t fix a hot spot.
What You Need Before You Start
This job takes very few tools, and the most important one is inexpensive.
An Oven Thermometer: Why the Dial Can’t Test Itself
The sensor that reads your oven’s temperature is the same part that may be off. A separate oven thermometer gives you an independent reading to compare against the dial.
What to Look for When Buying One
Choose a simple stainless steel oven thermometer with a dial you can read through the oven window. These typically cost about $10 to $20 at kitchen and hardware stores.
Your Oven’s Manual or Model Number: Why Steps Vary by Brand
Calibration steps vary by brand and model, so find your manual or look up your model number, which is usually on a label near the oven door frame. Some brands also hold their accuracy better than others, as we explain in our guide to the best appliance brands for coastal and inland California homes.
Step 1: Test Your Oven’s Real Temperature
Accurate calibration starts with an accurate test, and a few details make the difference between a reading you can trust and one that misleads you.
Where to Place the Thermometer and Why the Center Rack Matters
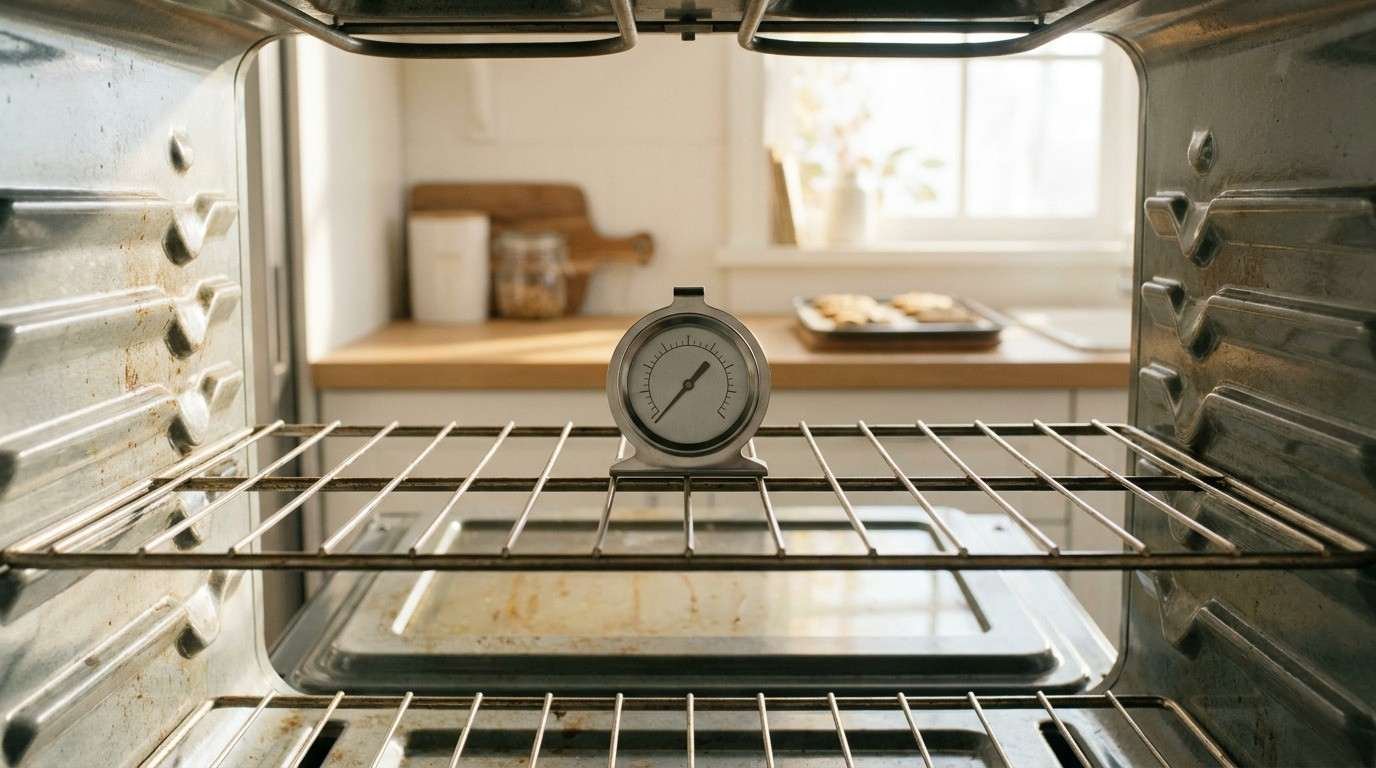
Place the thermometer in the center of the middle rack, away from the walls and the heating elements. A thermometer sitting close to an element can give you a falsely high reading.
Preheating, Waiting, and Reading Without Opening the Door
Set the oven to 350 degrees, the most common baking temperature. After the oven signals that it has preheated, wait another 20 to 30 minutes so the temperature stabilizes. Then read the thermometer through the oven window with the light on.
Opening the door lets heat escape and gives you a false reading, so if you must open it, read quickly and wait several minutes before checking again.
Calculating Your Offset (Set Temperature Minus Actual Temperature)
Subtract the actual reading from the temperature you set. If the thermometer reads 375 when you set 350, your offset is minus 25. If it reads 320, your offset is plus 30. A gap of 10 to 15 degrees is common and may not need correcting. A gap of 25 degrees or more is worth fixing.
Why You Should Test at More Than One Temperature
Ovens don’t always drift by the same amount at every setting. Repeat the test at a lower and a higher temperature, such as 325 and 400 degrees. If the offset stays roughly the same, one correction will work. If it varies widely, you likely have more than a calibration issue.
Step 2: Recalibrate Based on Your Oven Type
How you apply your offset depends on your oven’s controls, and button sequences differ between brands, so keep your manual handy.
Digital Ovens: Entering an Offset Through the Control Panel
Most digital ovens have a calibration or temperature adjustment option in the settings menu. Enter your offset with the arrow keys or number pad, then save it. Many ovens allow adjustments of up to about 35 degrees in either direction.
On some Whirlpool and Maytag models, holding the Bake button for about five seconds displays the current offset, but this varies by model, so rely on your manual.
Dial or Knob Ovens: Adjusting the Thermostat Knob Manually
Make sure the oven is off and cool, then pull the temperature knob straight off the control shaft. Behind it you’ll typically find a calibration adjustment that sits at zero from the factory. Move it in small steps based on your offset, then replace the knob.
Gas Ovens: What’s Safe to Adjust Yourself and What Isn’t
The calibration process for a gas oven’s control is similar, but gas adds a safety consideration. Entering an offset or adjusting a knob is within reach for many homeowners.
Anything involving the gas valve, igniter, or gas lines should go to a technician. If your gas oven struggles to light, our guide on a gas oven igniter that glows but won’t light explains why that is a separate problem.
Convection Mode: Why It May Need Its Own Offset
Some ovens treat convection as its own setting that needs its own offset. If you bake with convection often, test it separately and check whether your manual lets you set a different offset for that mode.
Step 3: Confirm the Recalibration Actually Worked
Adjusting the offset is only half the job, so a second test confirms the correction worked.
Re-Running the Thermometer Test After Adjusting
Put the thermometer back on the center rack, set the oven to 350 degrees, and repeat the same test: wait for the preheat signal, give it 20 to 30 minutes, and read through the window. The reading should now match closely.
Fine-Tuning in Small Steps If You’re Still Off
If you’re still off, adjust again in small steps based on the new gap. Apply the new difference to your current setting rather than starting from zero, and retest after each change.
Logging Your Offset So You Don’t Lose It
Write down your offset, the date, and the test temperature. If the setting is ever lost or changed, you’ll know exactly what to re-enter.
What to Do If Recalibrating Doesn’t Fix the Problem
Sometimes the gap isn’t a calibration problem at all. When the offset won’t hold or can’t reach your target, something else is usually going on.
When the Gap Is Too Large for an Offset to Correct
Generally, a gap of 50 degrees or more points to a failed part rather than simple drift. Offsets also top out around 35 degrees on many ovens, so a large gap may be beyond what a setting can correct. If your oven is older and has needed several repairs already, it’s worth weighing another one using the same repair-or-replace reasoning we apply to an aging refrigerator.
A Failing Temperature Sensor: Signs and What It Means
The temperature sensor is typically a thin metal probe inside the oven cavity that tells the control how hot the oven is. When it fails, readings become erratic or wildly wrong.
Signs include an offset that keeps changing and an oven that overheats or never reaches temperature. A technician can test the sensor’s resistance with a multimeter to confirm it.
A Worn Door Gasket or Heating Component That Still Throws Off Accuracy
A door gasket that no longer seals lets heat escape, so the oven struggles to hold its temperature. A weak bake element or burner can have a similar effect. Inspect the gasket for cracks, gaps, or flattened sections. If it looks fine and the numbers still won’t settle, a technician can check the heating components.
DIY Recalibration vs. Calling a Professional
Most of this guide is safe to do yourself, but a few steps call for a professional.
What Homeowners Can Safely Do on Their Own
Testing with a thermometer, entering an offset on a digital oven, adjusting a knob while the oven is off and cool, inspecting the door gasket, and logging your results are all safe, straightforward tasks.
Why Sensor Replacement and Gas Component Work Belongs to a Technician
Replacing a sensor involves electrical components inside the oven, and gas components carry combustion and leak risks. Both are best handled by a trained technician. Choosing an independent local technician is also one small way of supporting local trades in Fallbrook instead of a national chain.
What Recalibration and Related Repairs Cost
Costs range from nearly free to a moderate repair bill, depending on what your test reveals.
Recalibrating Yourself: The Cost of a Thermometer and a Little Time
A basic oven thermometer typically costs about $10 to $20, and the process takes about an hour of mostly waiting for the oven to heat and stabilize. If the problem is simple drift, that is your entire expense.
Professional Diagnostic and Calibration Visit Cost
If the offset won’t hold or the gap is too large, a diagnostic visit identifies the failing part. Visit fees vary between companies, so ask about pricing and whether the fee applies toward the repair before you book.
Temperature Sensor Replacement Cost
Temperature sensor replacement is generally one of the more affordable electrical oven repairs, since the part is small and the labor is usually straightforward. If the repair doesn’t make sense for your oven’s age, local recycling centers for old appliances make responsible disposal easy.
Keeping Your Oven Accurate Long Term
A little routine attention keeps your readings steady.
How Often to Re-Test, and When to Test Sooner
Testing once a year is a reasonable habit. Test sooner if your recipes start failing, after any oven repair, or after a move or major kitchen change.
Cleaning and Care Habits That Keep Readings Steady
Keep the door gasket clean and intact, wipe up spills before they burn onto the cavity, and avoid lining the oven floor with foil unless your manual allows it.
Why Choose a Local Fallbrook, CA Appliance Repair Team
A local team can help quickly when a simple recalibration isn’t enough.
Accurate Diagnosis When Calibration Isn’t Enough
When a thermometer test shows a gap that an offset can’t fix, the next step is finding which part is responsible. A technician tests the sensor, gasket, and heating components directly, so you don’t spend money replacing parts that were working fine.
Certified Technicians for Gas and Electric Ovens, All Major Brands
Our technicians repair gas and electric ovens from all major brands, including temperature sensors, heating elements, and control issues.
What an Oven Temperature Diagnostic Visit Includes
A thorough visit includes an independent temperature test, a sensor check, and an inspection of the door seal and heating components, so you leave with a confirmed answer. If your oven keeps missing its target after you’ve recalibrated, Appliance Repair Fallbrook can find the cause. Contact us to schedule a diagnostic visit.